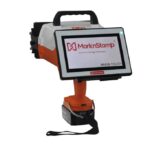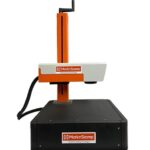
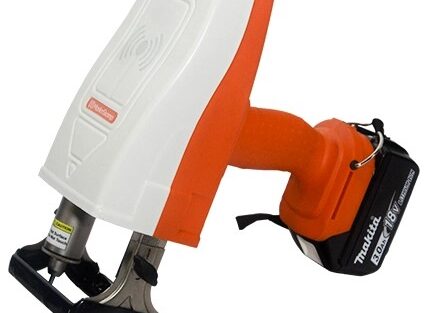
Summary: A hand held engraving machine produces a good mark only when three things are right, the stylus matches the material, the part is held firmly, and the machine itself is supported against the surface. Buyers routinely order the machine and skip the accessories, then blame the machine for shallow, drifting or double-struck marks. Set-up takes about twenty minutes: fit the correct stylus, attach the front fixture, set the resting legs for the surface, set force, then mark a scrap piece before touching a real part.
There is a specific complaint that comes up again and again with handheld marking, and it is almost never the machine.
The mark drifts. Or it starts crisp and goes shallow halfway across. Or the characters look doubled, as if the machine moved mid-stroke. Every one of those is a holding problem or a stylus problem, and both are fixable in minutes.
This is the set-up sequence that prevents them, in the order it should actually be done.
Why does a handheld marking machine need accessories at all?
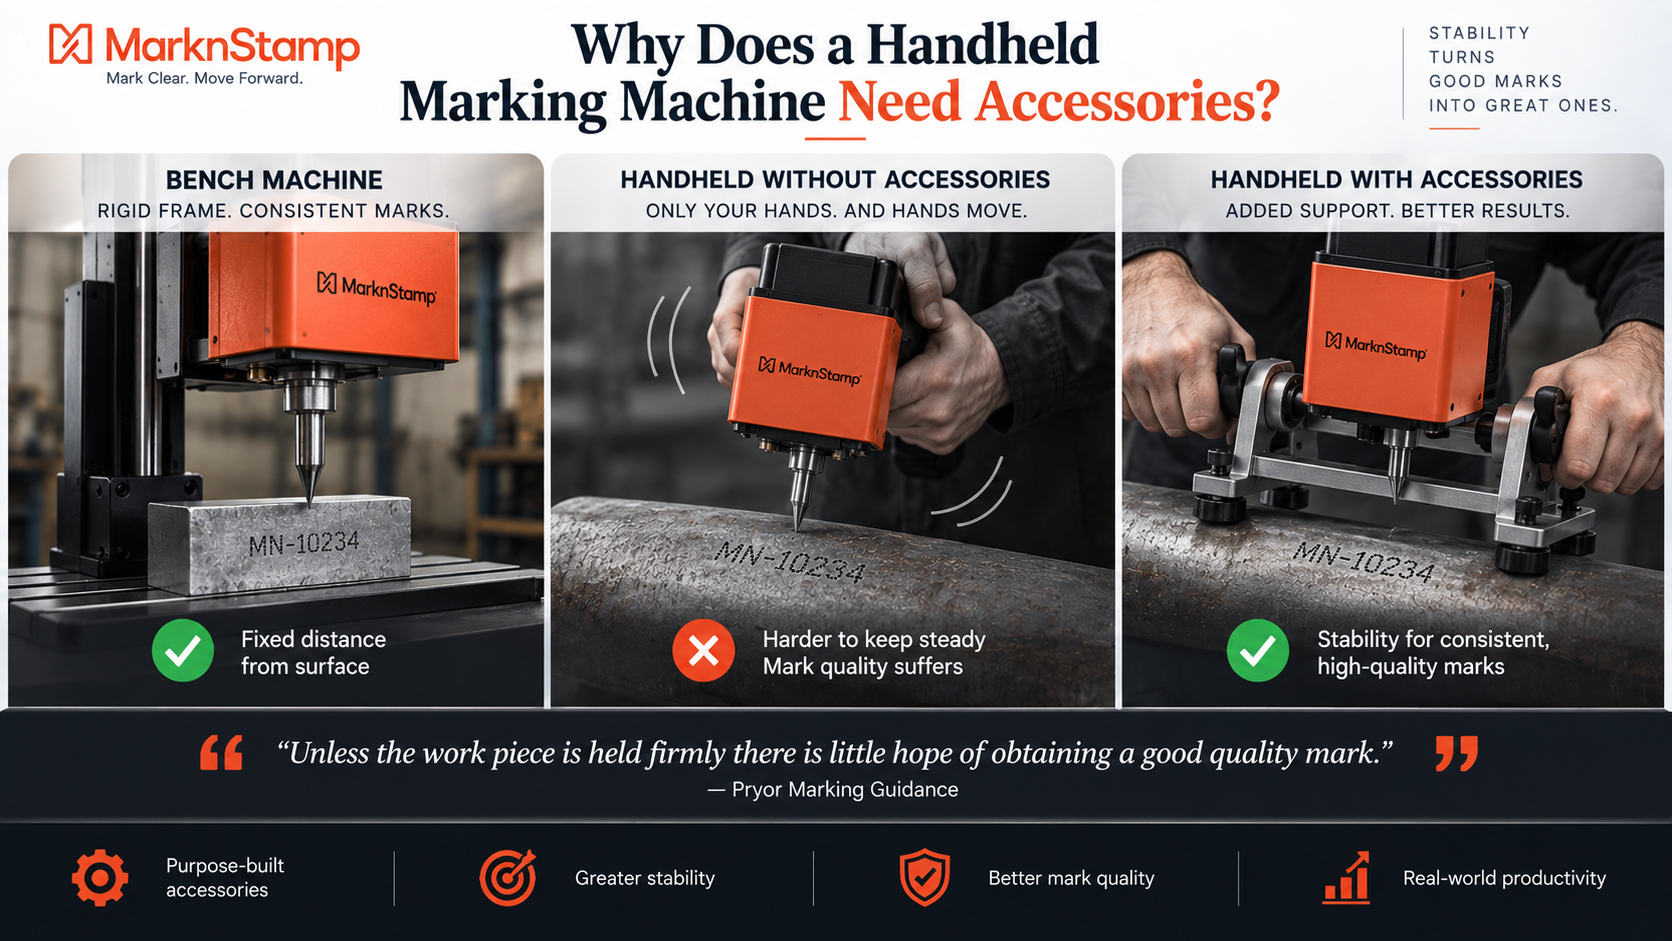
Because a handheld machine has nothing to brace against except the operator and the part. A bench machine has a rigid frame keeping the head at a fixed distance from the surface. A handheld machine has your hands, and hands move.
This is not a minor factor. As Pryor’s marking guidance puts it plainly, unless the work piece is held firmly there is little hope of obtaining a good quality mark. Everything else in this article is downstream of that one sentence.
Mark N Stamp designs its portable accessories around this problem specifically. The accessories exist to replace the rigidity a bench gives you for free. Skip them and you are asking an operator to hold a 3 to 5kg machine perfectly still while it delivers hundreds of impacts.
Step one: choose the stylus for the material, not the machine
Fit the stylus that matches what you are marking. Steel takes a standard hard stylus, aluminium and other soft metals take a finer one, and deep marking on rough surfaces takes a longer-stroke stylus built for the duty.
The tip is tungsten carbide, one of the hardest engineering materials in common industrial use, which is why it survives thousands of impacts a day. It is not indestructible.
What actually goes wrong:
- A steel stylus on aluminium displaces too much material, so character edges look torn rather than clean
- A worn or chipped tip produces shallow, irregular dots long before it fails completely
- The wrong stylus for depth means the operator compensates by pressing harder, which makes drift worse
Check the tip daily under good light. A rounded tip is a consumable at end of life, not a machine fault. Replacement styli including the EM stylus are ordered by material and application, so keep the correct spares on the shelf rather than ordering after a failure.
Step two: fit the front fixture
The front fixture sets and holds the standoff distance between the marking head and the part surface. It is the single accessory that turns an inconsistent handheld mark into a repeatable one.
Without it, standoff varies with how the operator holds the machine, and standoff variation is exactly what produces a mark that fades across the window.
Fit the front fixture before the first trial mark rather than after the first complaint. It also protects the stylus assembly from side loading when the machine is set down.
Step three: set the resting legs for the surface
Independent resting legs let the machine sit stably on surfaces that are not flat. Each leg adjusts separately, so the head stays square to the marking area even on a curved, stepped or irregular part.
This is the accessory that gets skipped most often and missed most badly. On a round bar or a curved casting, a machine without legs rocks. A machine that rocks double-strikes.
Set them so the head sits square to the surface directly under the marking window, not square to the part as a whole. Those are different things on a curved component, and the marking window is the one that matters. Adjustable independent resting legs handle most awkward geometries without a custom fixture.
Step four: set force, then prove it on scrap
Set the marking force to the lowest setting that gives a legible, durable mark, then verify it on a scrap piece of the same material before marking a real component.
More force is not better. Excess force on thin sections deforms the part, on hard material chips the stylus, and on everything else it just wears the machine faster.
The full set-up sequence:
- Fit the stylus matched to the material
- Attach the front fixture and check the standoff
- Adjust the resting legs until the head sits square to the marking area
- Set force to a mid setting and mark a scrap piece
- Inspect depth and legibility, then adjust force one step at a time
- Scan the mark with the actual reader that will be used downstream, if it is a code
Step six catches the failure nobody expects, a mark that looks perfect to the eye and will not scan.
What to order with the machine, not after it
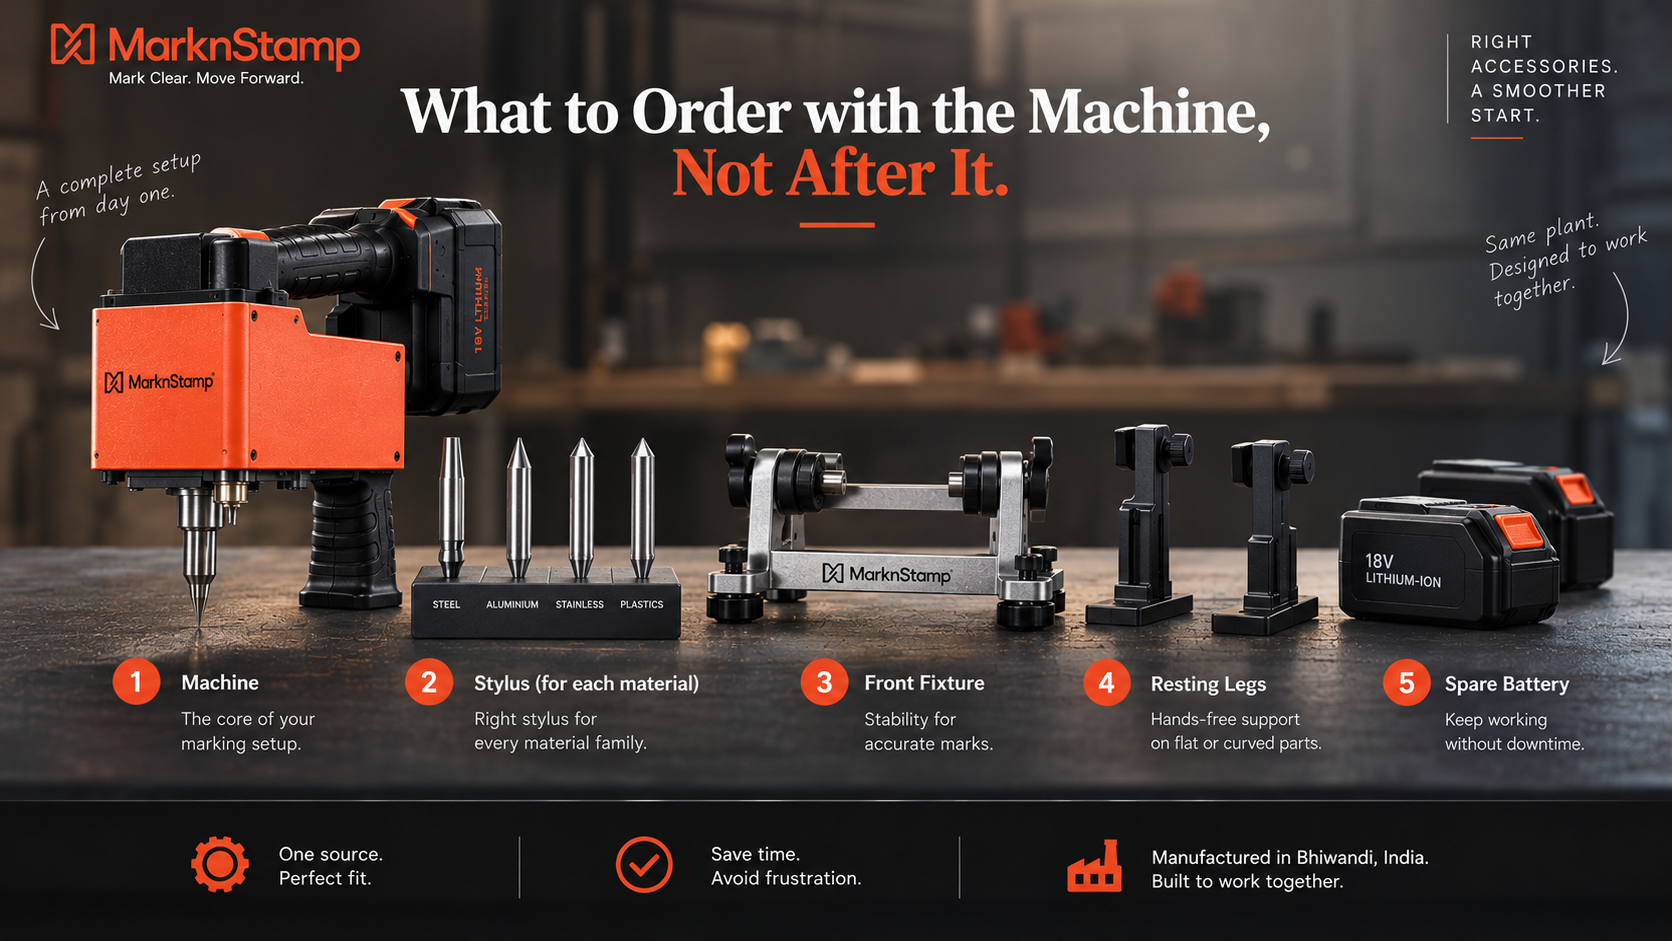
A handheld machine arriving on its own is an incomplete purchase. The realistic first order includes the machine, a stylus for each material family you mark, a front fixture, resting legs, and at least one spare battery if it is cordless.
Mark N Stamp supplies the portable machines and the full accessory range from the same plant in Bhiwandi, so the fixtures are designed around the machines rather than adapted to them. Getting the accessory list right at the quotation stage costs nothing and saves the fortnight of frustration that follows an incomplete first order.
Frequently asked questions
Do I need a front fixture on a hand held engraving machine? Yes, for consistent results. The fixture holds the standoff distance between the head and the surface, which is what keeps mark depth even across the whole window rather than fading part way.
How often should a marking stylus be replaced? There is no fixed interval. Check the tip daily and replace it at the first sign of rounding or chipping, since a worn tip produces shallow, irregular marks well before it stops working entirely.
Can a handheld machine mark curved surfaces? Yes, with independent resting legs adjusted so the head sits square to the marking area. Without them the machine rocks on a curved part, which causes double-struck or drifting characters.
What causes a marking machine to produce doubled characters? Machine movement during the stroke, almost always. The usual causes are a workpiece that is not clamped, a missing front fixture, or resting legs that are not set square to a curved surface under the marking window.
Should I use maximum marking force for the deepest mark? No. Use the lowest force that produces a legible, durable mark on your material. Excess force deforms thin sections, chips styli faster and wears the machine, without making the mark any easier to read or scan.
Handheld marking problems are set-up problems far more often than they are machine problems, and twenty minutes with the right stylus and fixture solves most of them. Check the accessory range and talk to our team about the right configuration for your parts.